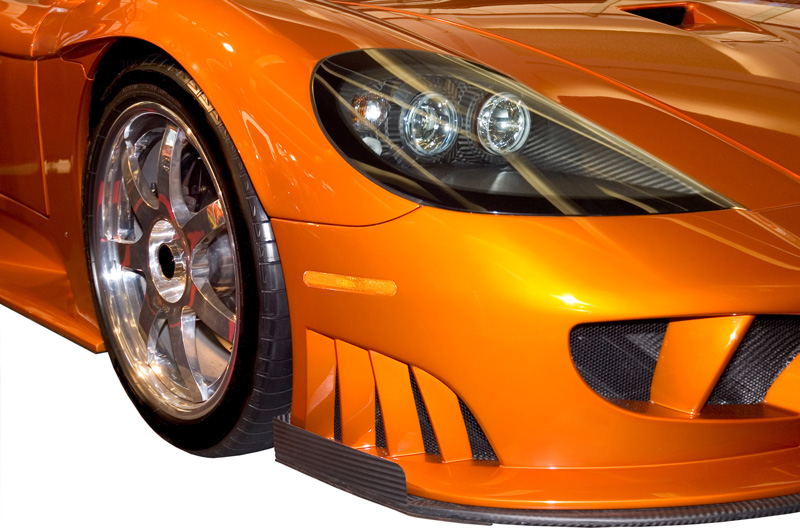

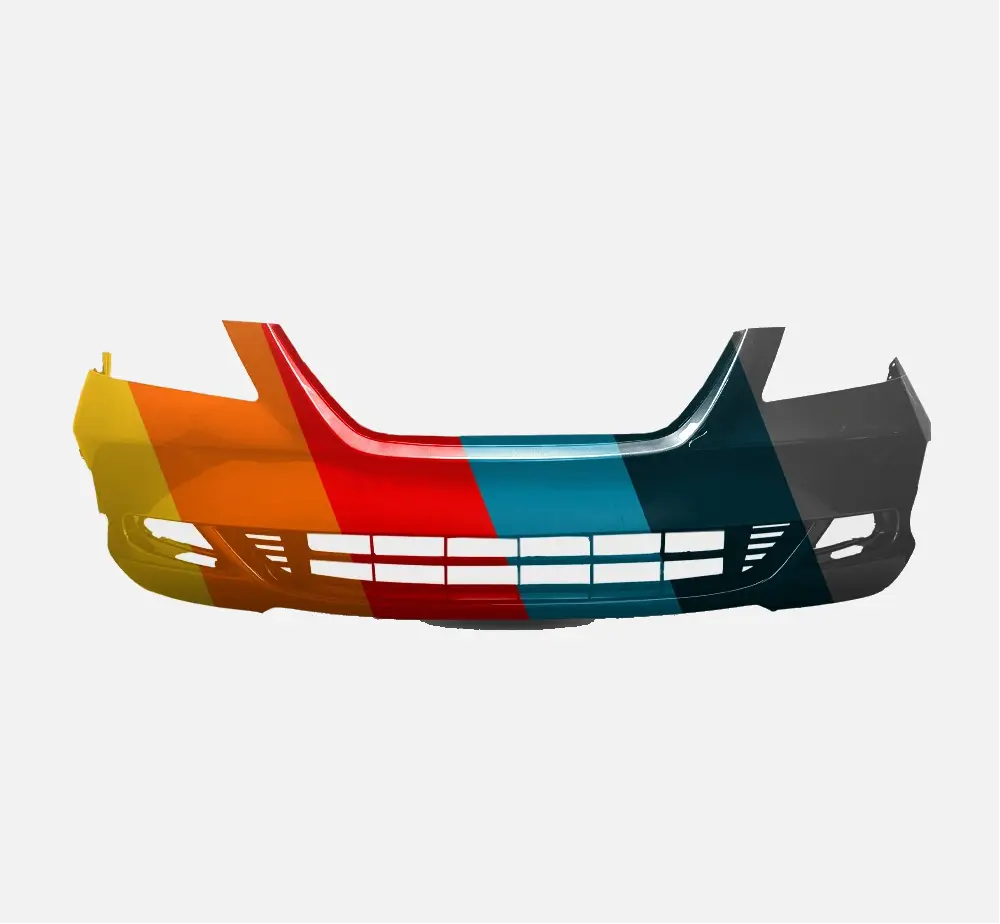
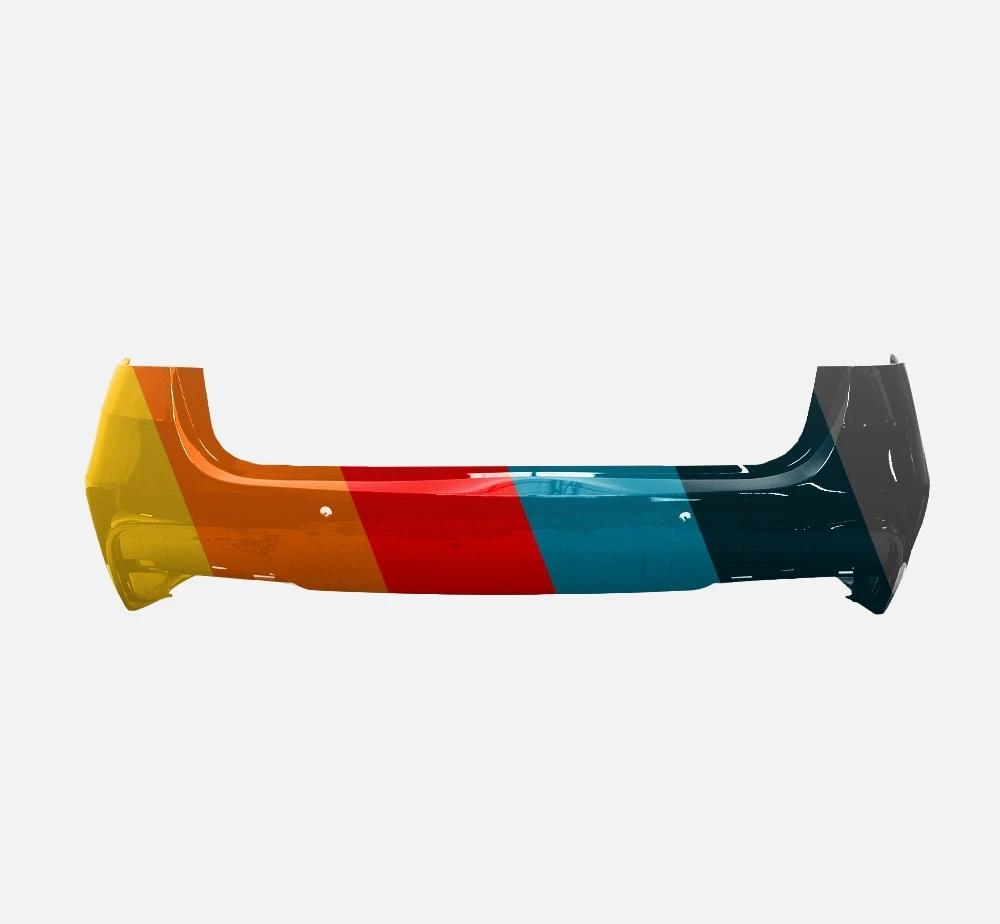


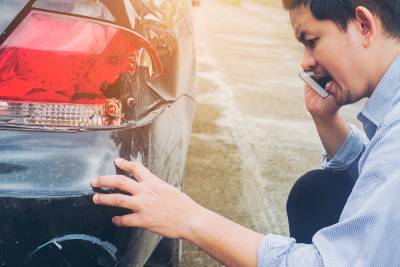
A cracked bumper often frustrates drivers because it affects both appearance and function. Beyond cosmetics, a damaged bumper loses part of its ability to absorb impact, reducing safety during minor collisions.
Many assume replacement is the only option, but repairs can restore strength and save significant costs if performed correctly. By understanding the damage, preparing properly, and using the right method, vehicle owners can achieve results that combine affordability with durability.
Key Takeaways:
- Bumper cracks compromise safety and visual appeal, making timely repair essential.
- Assessing the severity and location of the crack determines whether repair or replacement is the smarter choice.
- With correct preparation and tools, affordable at-home repairs restore both structure and finish.
- Protective sealing and finishing ensure long-lasting results that blend with the original bumper.
Importance of Maintaining a Car's Appearance
A vehicle's bumper is one of the first features people notice. Cracks or visible damage reduce overall value and give the impression of neglect.
For owners planning resale, a well-maintained exterior directly influences price negotiations. Even for long-term ownership, driving a car with a cracked bumper can feel less satisfying and professional.
Appearance ties closely to safety. Bumpers are designed to absorb shocks, distribute force, and protect other vehicle components. Cracks compromise these functions, potentially leading to more expensive damage in future accidents. Maintaining bumper integrity ensures both aesthetics and protection remain intact.
Assessing the Damage of Your Bumper
Repair starts with a careful evaluation. Understanding the type and extent of the crack helps decide whether repair restores full function or if replacement is the only safe solution.
Identifying the Type and Extent of the Crack
Cracks form due to low-speed collisions, parking mishaps, or impacts with curbs. Over time, UV rays and temperature fluctuations make the plastic more brittle, increasing susceptibility to damage.
Small surface cracks often appear near corners or edges, while deeper structural cracks run across larger portions of the bumper. Spiderweb cracks indicate multiple stress points, requiring stronger reinforcement. Identifying whether the damage is localized or spreading helps shape the repair plan.
Determining if a Repair Is Feasible or if Replacement Is Necessary
Repair remains feasible when cracks are small to medium in size, isolated, and away from key mounting points. These can usually be restored with adhesives or plastic welding.
Replacement becomes necessary if cracks run across the entire bumper, reach mounting brackets, or distort the bumper's overall shape. Severe impact that compromises alignment or creates multiple breaks often exceeds the limits of repair. Safety takes priority, and choosing replacement in such cases avoids future failure.
Gathering Necessary Tools and Materials
Successful repair requires preparation.
Essential items include:
- Sandpaper of varying grits (80, 180, 400).
- Plastic adhesive or epoxy formulated for automotive use.
- Plastic welding kit or soldering iron for heat-based repairs.
- Body filler and applicator for smoothing surfaces.
- Primer, color-matched paint, and clear coat for finishing.
- Microfiber cloths, masking tape, and protective gloves.
Quality materials ensure the repaired area bonds firmly and blends with surrounding paint. Using the wrong adhesives or shortcuts risks weak repairs that quickly reopen under stress.
How To Prep for the Bumper Repair
Preparation ensures that adhesives or fillers bond properly. Skipping these steps often leads to premature failure or uneven finishes.
Clean the Damaged Area
Wash the bumper with automotive soap to remove dirt, oils, and residues. Dry it thoroughly with microfiber towels. For stubborn grease or wax, use isopropyl alcohol. A clean surface prevents contaminants from weakening adhesives or fillers.
Remove Any Loose Debris or Paint
Scrape away flaking paint and loose plastic fragments around the crack. Sand the edges lightly with coarse sandpaper to create a rough texture. This step promotes better bonding by giving adhesives or fillers a surface to grip.
Protect Surrounding Areas with Masking Tape
Use masking tape and plastic sheeting to cover headlights, grills, and undamaged panels near the bumper. Protection avoids overspray, accidental scratches, or unwanted adhesive contact. Setting up the work area carefully ensures a professional result.
Step-by-Step Repair Process
The method you choose depends on the severity of the crack and available tools. Both adhesive bonding and plastic welding can restore strength when applied properly.
Choosing the Right Repair Method
Adhesive repair works best for small to medium cracks. Two-part epoxies designed for automotive plastics cure into durable bonds. Plastic welding suits deeper cracks or structural damage, melting and fusing the plastic back together for stronger reinforcement.
When selecting a method, consider both the location and depth of the crack. Adhesives are easier for DIY applications, while welding provides more strength but requires careful handling of heat.
Applying the Chosen Repair Method
For adhesive repair, apply epoxy across the crack's interior after sanding it open slightly. Use clamps or reinforcement mesh if necessary to hold the joint firmly until the adhesive cures. Once hardened, sand the surface smooth before applying filler.
For plastic welding, heat the crack edges with a soldering iron or welding tool until they soften. Add compatible plastic filler rods and fuse them into the gap. Sand down excess material, ensuring the repair sits flush with the bumper's surface.
Whichever method you choose, allow sufficient curing or cooling time before moving to the finishing stages. Rushing risks weak bonds or uneven alignment.
Finishing Touches
After structural repair, apply body filler over the repaired section to create a smooth, uniform surface. Sand progressively with finer grits until the repair blends seamlessly with surrounding areas.
Spray primer evenly, followed by thin coats of color-matched paint. Build up layers gradually for even coverage. Finish with a clear coat to restore gloss and protect the paint. Once fully cured, polish the area to match the rest of the bumper's finish.
When done correctly, the repaired bumper regains both structural strength and factory-level appearance at a fraction of replacement cost.
Final Thoughts
Learning how to repair a cracked car bumper quickly and affordably gives drivers control over both safety and expense. Proper assessment ensures you choose the right method, whether adhesive repair for small cracks or plastic welding for more extensive damage. Thorough preparation and careful finishing create results that look professional and last under everyday use.
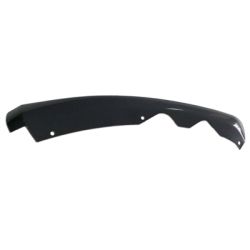
For those needing replacement parts or finishing materials, Chicago Auto Body Parts provides high-quality components designed for precision fit and durability. Reliable sourcing ensures that any repair or replacement maintains the safety and style your vehicle deserves.
By combining technical know-how with trusted products, drivers can restore their bumper's function and appearance without excessive cost, extending the life and value of their vehicle.
FAQs
How long will a bumper crack repair last?
- A properly bonded repair can last for years, provided it is protected from extreme impacts and finished with quality coatings.
Can I repair a cracked bumper without repainting it?
- Yes, but unpainted repairs remain visible. Painting and clear coating provide both cosmetic blending and added protection.
How much money can I save by repairing instead of replacing?
- Repairs typically cost a fraction of replacement, often saving several hundred dollars depending on the severity of damage.