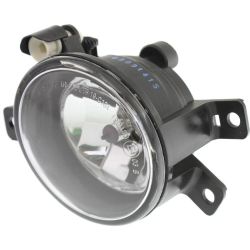


Driving at night or through adverse weather demands more than just standard headlights. Fog lamps are designed to provide targeted illumination close to the ground, cutting through fog, mist, rain, and snow with a wide, low beam.
This guide explains how to install fog lamps professionally, what tools and materials are needed, and how to test and fine-tune your setup. If you are looking for a clear, actionable upgrade, this process delivers enhanced road visibility and safer driving in minutes.
Key Takeaways
- Fog lamps improve safety during poor weather and low-light conditions by reducing glare and highlighting road edges.
- Installation requires basic tools, a vehicle-compatible kit, and careful attention to wiring and alignment.
- Testing after installation ensures full functionality, correct beam angle, and lasting performance.
Why are Fog Lamps Important?
Fog lamps significantly enhance visibility in challenging weather conditions such as dense fog, heavy rain, snow, or dust storms. Unlike standard headlights, fog lamps project a specialized low-angled beam pattern, reducing glare and reflection from airborne particles and improving short-range visibility.
Understanding Fog Lamps
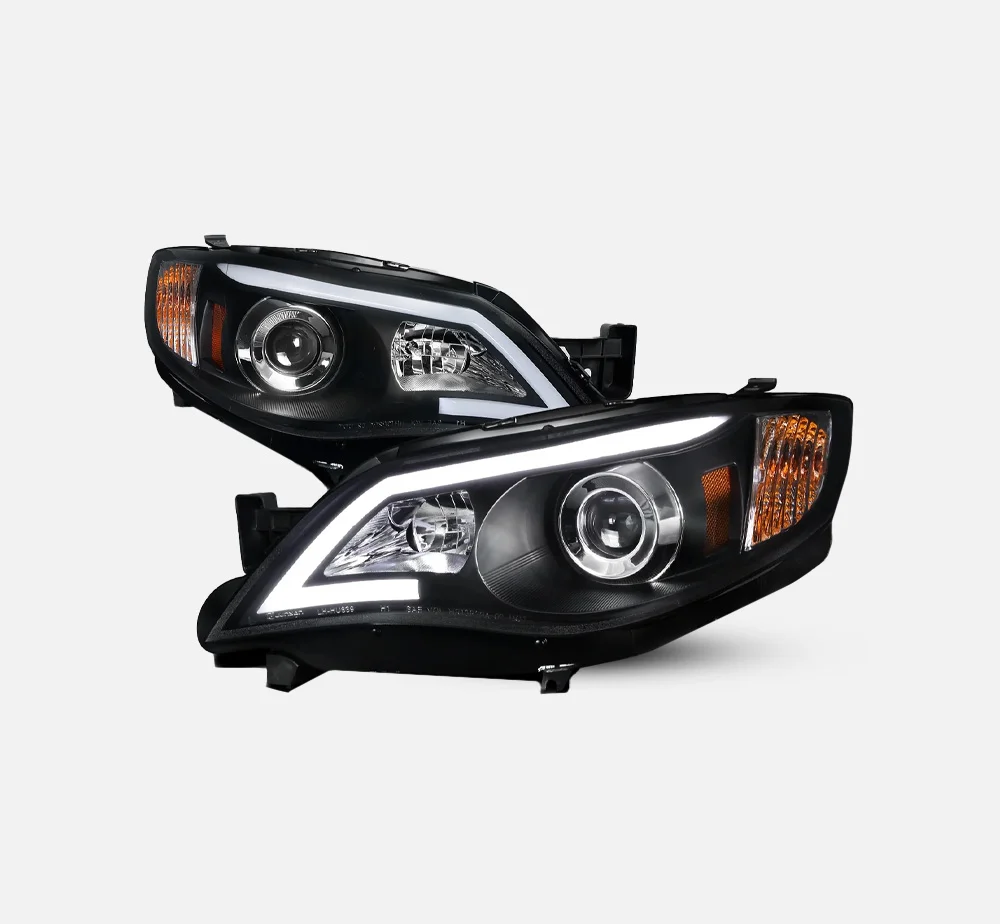
Fog lamps differ from standard headlights by being positioned lower on the vehicle, usually near the front bumper. They emit a wide, flat beam that remains close to the road surface, effectively illuminating lane markers, curbs, potholes, and obstacles even when visibility is severely limited.
They also offer several important benefits that significantly enhance driving safety and comfort:
- Enhanced Road Visibility: Clearly illuminate immediate road areas, highlighting lane markers, curbs, and potential hazards that standard headlights might miss.
- Reduced Eye Strain and Fatigue: Minimize glare and reflections from airborne particles, reducing eye strain and driver fatigue, especially during long drives.
- Increased Reaction Time: Improve drivers' ability to quickly identify and respond to potential hazards, helping prevent accidents.
- Improved Peripheral Vision: Provide a wider beam pattern, enhancing visibility of the road edges and surrounding areas, crucial in adverse conditions.
- Safer Night Driving: Offer additional illumination that complements standard headlights, providing better visibility on poorly lit roads.
- Better Performance in Bad Weather: Enhance visibility significantly in heavy rain, snow, or fog, conditions in which standard headlights may be inadequate.
Overall, the use of fog lamps significantly improves the driver's situational awareness, contributing to safer journeys in challenging weather conditions.
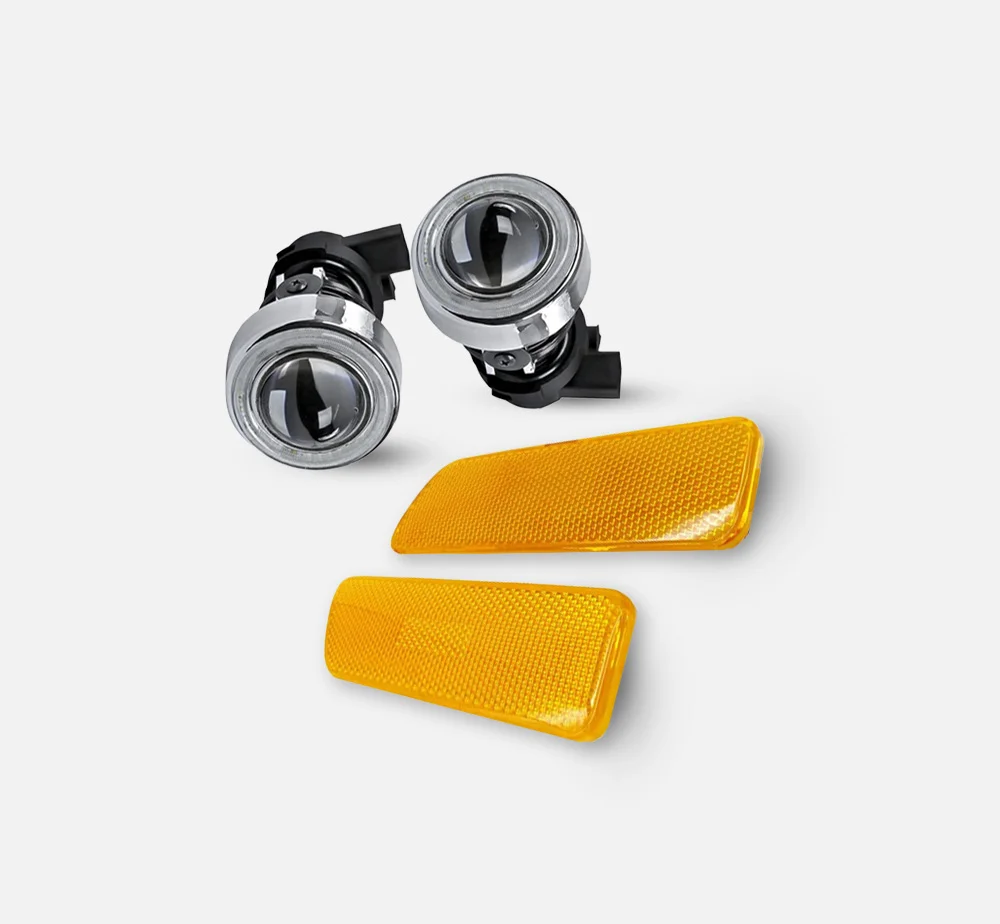
Fog lamp technologies include:
- Halogen: Economical, straightforward to replace, suitable for general use.
- HID (High-Intensity Discharge): Offers brighter and sharper illumination, beneficial in extreme weather.
- LED: Durable, energy-efficient, and delivers clear, precise white lighting.
- Laser-Assisted Lamps: Advanced technology that combines laser diodes with LEDs to project extremely bright, sharp, and highly controlled beams ideal for severe weather.
The choice depends on budget, installation skill level, and environmental needs.

Tools and Materials Needed for Installation
Installing fog lamps is straightforward with the correct equipment. Having the right tools and materials not only ensures a clean installation but also prevents damage to vehicle components and enhances long-term reliability.
Each item serves a specific purpose, from disassembling panels to securing electrical connections. This step is where many DIY installers either overcomplicate or overlook critical details. Using the right combination of tools, accessories, and protective gear sets the foundation for a successful upgrade.
You'll need the following tools:
- Screwdrivers: These are essential for removing trim panels, loosening fasteners on the bumper, and adjusting fog lamp housings. Flatheads can help with prying off clips while Phillips drivers are ideal for most screws.
- Socket wrench set: A reliable set with both standard and metric sizes helps remove bolts holding the bumper, brackets, or engine bay panels. Choose a ratcheting handle for efficiency in tight spaces.
- Wire strippers and crimpers: These tools are critical for preparing electrical connections when installing the wiring harness. Clean, consistent wire cuts and firm crimps ensure that the system remains secure and free of electrical faults.
- Power drill and drill bits: Occasionally, new mounting points must be created if your vehicle lacks factory fog lamp brackets. A drill allows for precise hole placement without damaging adjacent surfaces. Use rust-resistant drill bits sized to match your mounting hardware.
Recommended materials include:
- Vehicle-specific fog lamp kit with mounting hardware: Ensure your kit includes all necessary parts like brackets, bolts, relays, and an interior switch. Universal kits can work, but vehicle-specific ones offer a better fit and fewer complications.
- Pre-wired harness with relay and switch: A complete harness simplifies wiring and includes safeguards against power overload. Relays reduce the current passing through the cabin switch, which improves system longevity and reliability.
- Electrical tape, zip ties, and extra wire connectors: Use electrical tape to insulate joints and prevent corrosion. Zip ties help organize the harness neatly along the chassis, keeping wires away from heat sources and moving parts. Extra connectors are useful for customizing the length or routing of wires during complex installations.
Safety measures are equally critical. Always wear protective gloves when handling wiring or metal hardware, as sharp edges are common under the hood and along the bumper.
Safety glasses should be worn while drilling or stripping wires to protect against flying debris or metal shavings. Before starting any installation, confirm your workspace is level, well-lit, and that the parking brake is engaged for stability.
Step-by-Step Installation Process
Each step of the fog lamp installation must be executed with care to ensure proper function and safe operation. The process includes preparation, installation, and testing.
Step 1: Preparing the Vehicle for Installation
Before beginning the actual work, prepare your vehicle to safely accommodate the new electrical components. Start by disconnecting the negative battery terminal to eliminate the risk of short circuits or injury. This is essential before handling wires or working near the engine bay.
In some models, fog lamp mounting points are located behind the front bumper. If access is restricted, remove the bumper by unfastening bolts and clips around the grille, wheel wells, and undercarriage. Lay all parts on a clean surface and label fasteners to simplify reassembly.
Step 2: Installing the Fog Lamps
With the area exposed, position the fog lamps using factory brackets or those provided in the kit. Align them evenly on both sides and secure them with the appropriate screws. Leave room for minor adjustments, especially for beam direction.
Now route the wiring harness from each fog lamp to the battery and cabin interior.
Most kits include:
- A relay to regulate power and prevent overload
- A switch to control lamp operation from inside the vehicle
- Ground wires that must be fastened to bare metal on the chassis
Ensure each connector is tight and insulated with electrical tape or heat shrink tubing. Zip tie the wires along safe paths, keeping them clear of fans, belts, or high-heat areas.
Step 3: Testing the Fog Lamps
After the lamps are securely mounted and wired, reconnect the battery. Test the fog lamps by activating the switch inside the cabin.
Check for:
- Brightness consistency between both lamps
- Correct alignment angled slightly downward
- Stable power without flickering or heat buildup
If adjustments are needed, slightly reposition the mounting brackets to fine-tune the beam pattern. Once satisfied, reattach the bumper and perform a final inspection to ensure all fasteners are secure and all wires are properly routed.
Final Thoughts
Fog lamps play a critical role in enhancing near-field visibility during nighttime driving and adverse weather conditions. When installed correctly, they not only improve safety but also add a refined visual touch to your vehicle's exterior.
At our shop, we offer a wide selection of high-quality fog lamps and automotive lighting components compatible with a broad range of makes and models.
Whether you're replacing damaged lights or upgrading for better visibility, our OEM-fit parts ensure proper alignment, durability, and performance. With fast shipping and expert-curated inventory, Chicago Auto Body Parts is your trusted source for reliable lighting upgrades and essential car parts.
FAQs
How do I know if my car supports fog lamp installation?
- Check the front bumper for factory cutouts or pre-wired harnesses. Your vehicle’s manual or a parts retailer can confirm compatibility.
Should fog lamps be wired to a separate switch?
- Yes, using a dedicated switch helps prevent overload and ensures full control of operation during low-visibility driving.
What beam angle is ideal for fog lamps?
- Fog lamps should aim slightly downward and outward, creating a wide field of view without projecting light upward into the fog.